Ginger Loaf
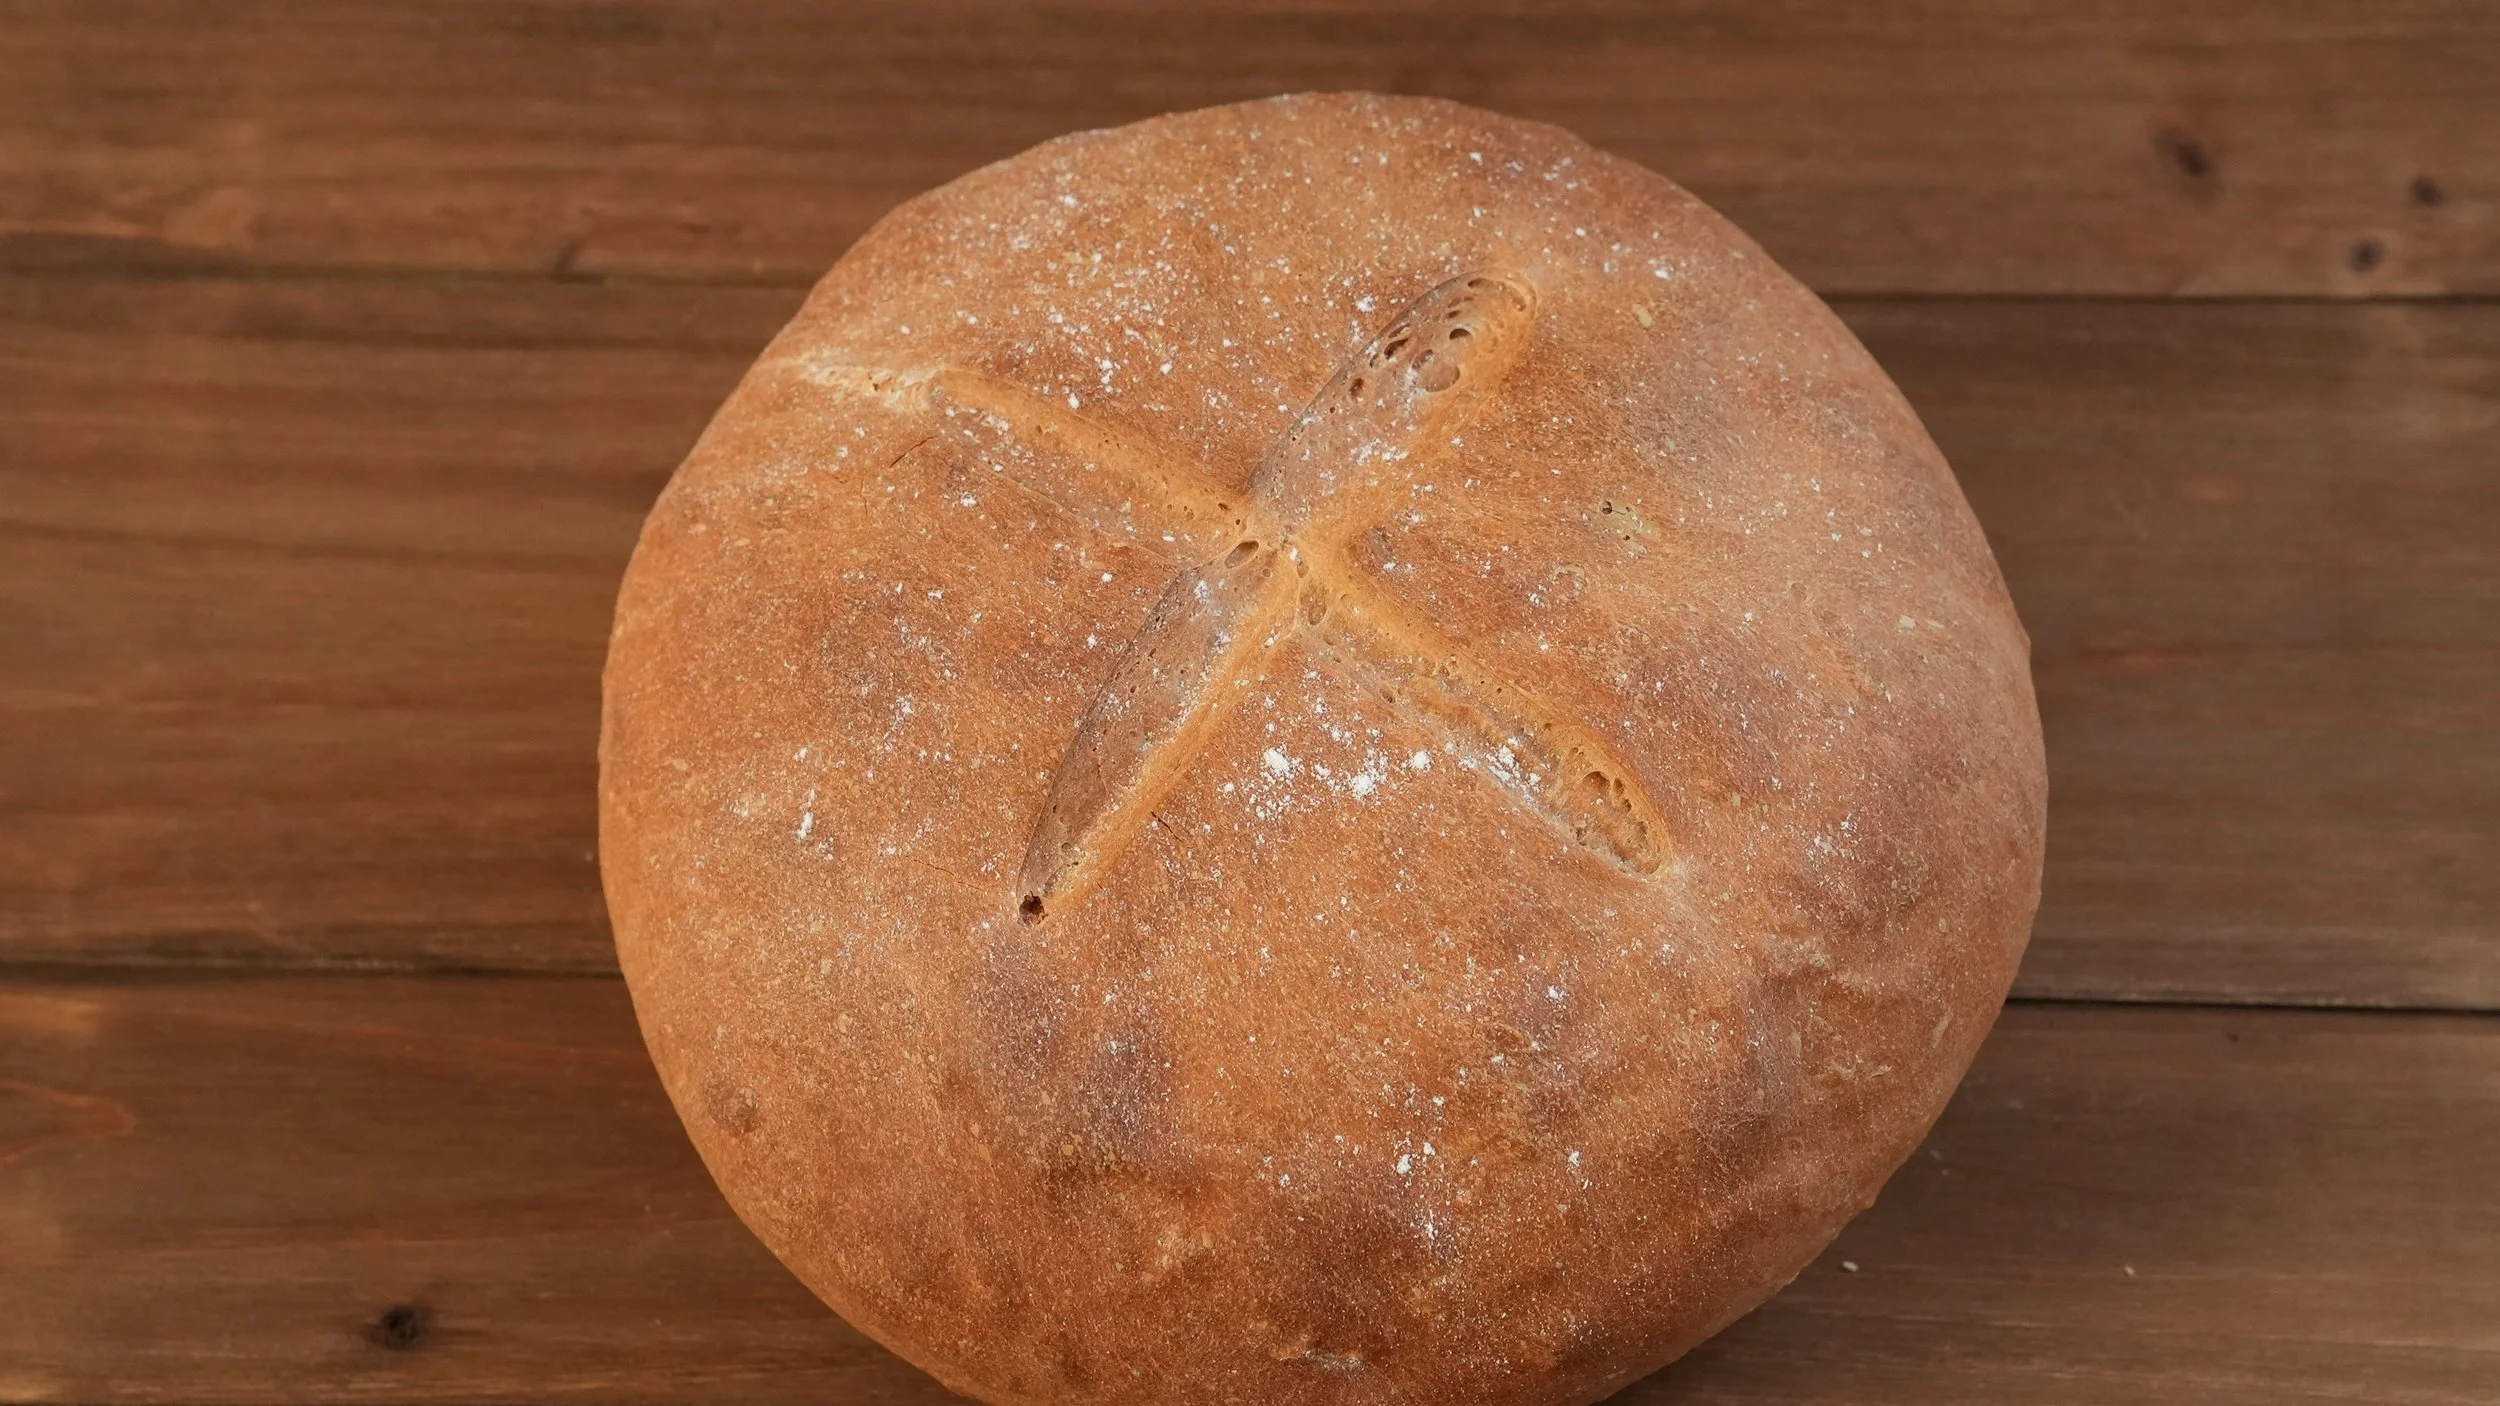
Large, gingery loaf of bread
City/Region: England
Time Period: 1857
In order to make expensive wheat flour go further, Victorian bakers added things to it of varying edibility. While potato, corn, and pea flour were used, so was ground up plaster of paris, chalk dust, and a powder called alum. Alum made the flour very white, but is also toxic in large quantities.
This loaf, made only with wholesome, edible ingredients, would have been on the fancier side of a bakery’s offerings with the addition of lots and lots of powdered ginger. This bread really surprised me, as it tastes like a normal loaf of bread at first, but then the heat and the flavor of the ginger comes through afterwards.
“Ginger Loaf, or Rolls.
Mix intimately two ounces of good powdered ginger, —called in the shops prepared ginger, — and a little salt, with two pounds of flour, and make it into a firm but perfectly light dough with German or brewer’s yeast, [and 1 pint milk] in the usual manner; [to rise one hour or until quite light: to be kneaded down and left again to rise until light]. Bake it either in one loaf, or divide it into six or eight small ones.
The proportion of ginger can be much increased if desired; but the bread should not then be habitually eaten for a long continuance, as the excess of any stimulating condiment is often in many ways injurious.”
Ingredients:
- 4 1/2 teaspoons (14 g) dried yeast
- 1/2 cup warm water
- 1 teaspoon sugar
- 6 tablespoons ground ginger
- 7 1/2 cups (900 g) flour
- 2 teaspoons salt
- Scant 2 1/2 cups (570 ml) milk
Instructions:
- Whisk together the yeast, water, and sugar and set it aside for about 10 minutes, or until it’s foamy.
- While the yeast does its thing, in a large bowl whisk together the ginger, flour, and salt until evenly combined.
- Add in the yeast mixture and about 2/3 of the milk and work it into the dough. You want a shaggy, slightly sticky dough, so add more milk or flour as needed to get it to come together into a consistency that isn’t stiff, but holds together well. We’re going to be kneading the dough in step 5, so at this point, you just want it to be a cohesive dough.
- Place the dough in a greased bowl, cover it, and let it rise in a warm place for 1 hour. It should have risen a good amount (but doesn’t necessarily have to be doubled) and should be much less sticky.
- Turn the dough out onto a well-floured surface and knead for about 15 minutes, or until the dough is smooth and elastic.
- Return the dough to the bowl, cover, and let rise for 60 to 90 minutes, or until it has doubled in size.
- Once the dough has doubled in size, knock out the air and turn it out to shape it. Form it into a flat round, then gather the edges up to the middle and pinch them to seal. With the dough seam side down, gently pull it toward you, then rotate it and repeat to smooth and tighten the dough. This can take some practice, and we’re looking for a nice, smooth round of dough.
- Once the dough is shaped, place it on a baking sheet lined with parchment paper, cover, and let it rise for 20 minutes.
- Place a baking sheet in the oven and preheat the oven to 400°F (205°C).
- After the dough has risen for 20 minutes, uncover it and score it deeply with a very sharp knife or a bread lame.
- When the oven is up to temperature, carefully slide the parchment paper and dough onto the hot baking sheet and bake for 45 to 50 minutes, or until the bread registers 190°F (88°C) in the center.
- Let the loaf cool completely before slicing and serving it forth.