Pocket Soup
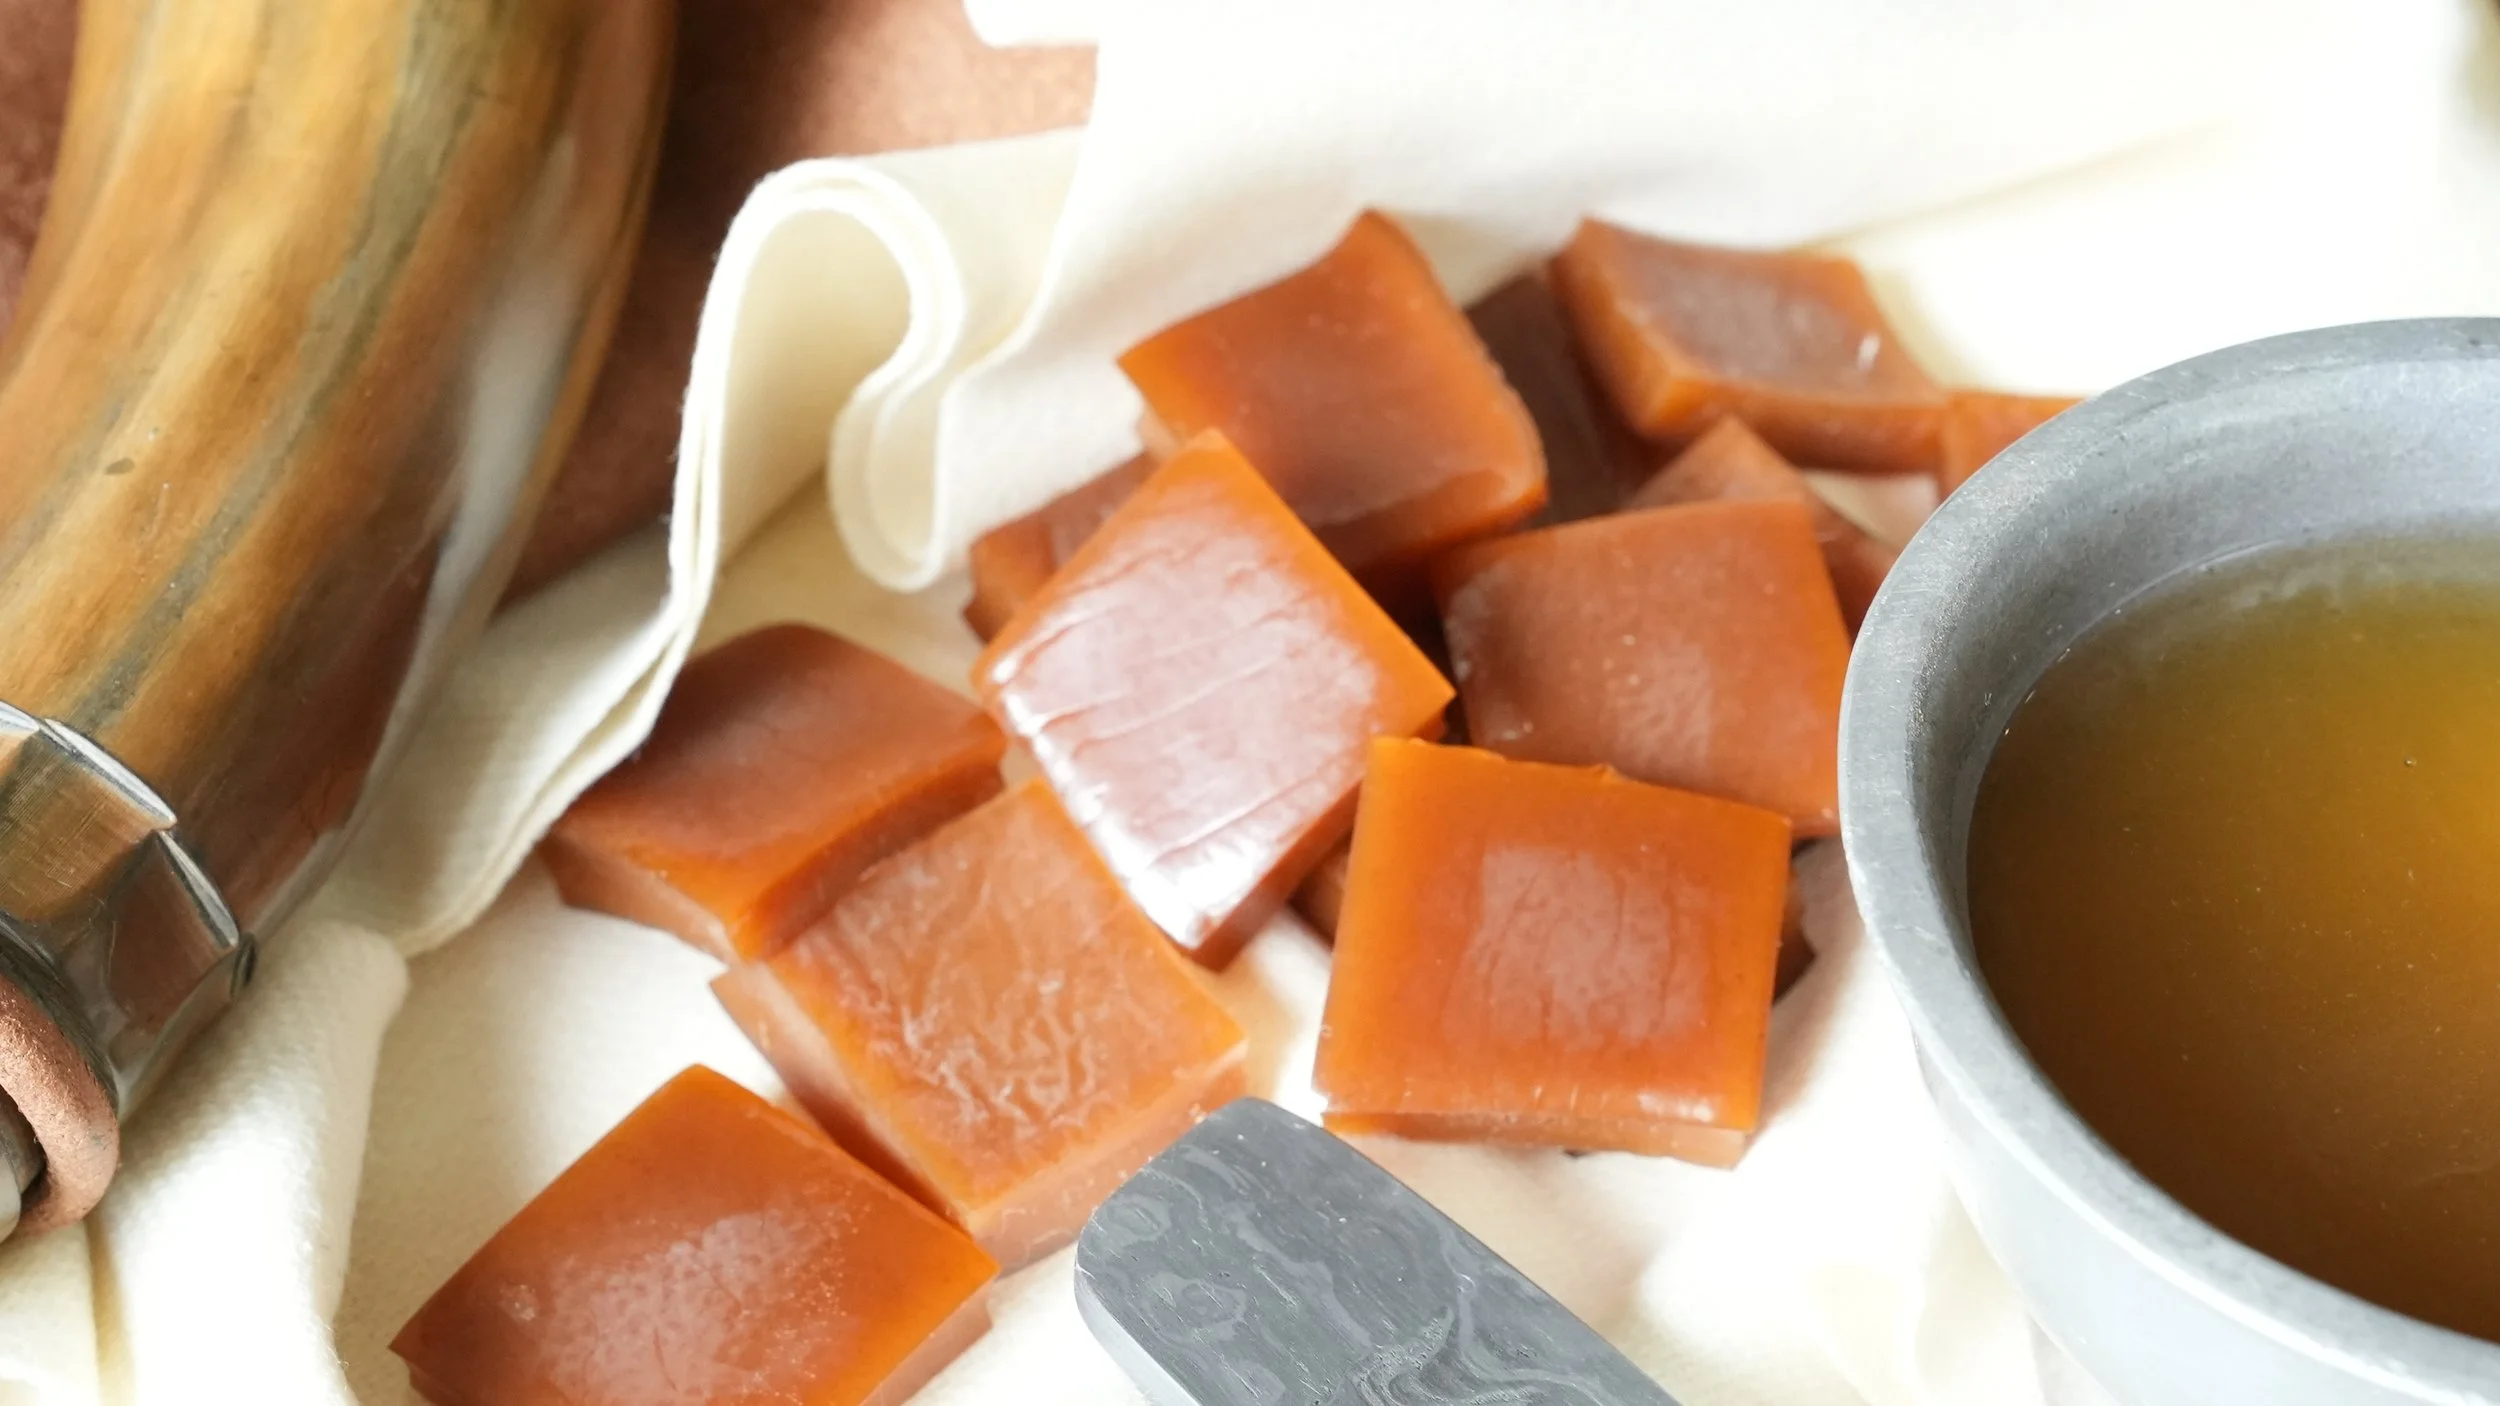
Squares of pocket soup, a concentrated and dried beef broth
City/Region: England
Time Period: 1694
This was a very clever way to bring broth along on a journey before the bouillon cube. Sometimes called portable soup or pocket soup, historical recipes could be plain like this one, or flavored with things like mace, anchovies, cloves, pepper, onions, and herbs. The only problem with that is that, should you happen to want a broth that, say, doesn’t have anchovies in it, you’d be out of luck.
I went with a plain beef pocket soup, and that’s exactly what it tastes like. It reconstitutes well in hot water, and you can just stick a piece in your mouth and chew on it, but I don’t recommend it.
Note that this is a multi-day project.
“To Make Veal Glew.
Take a leg of veal & when ye fat is cut clean off, make a very strong broth of it & strain it thro a fine sieve that it may be clear. When this is done put ye broth into a broad flat stew pan that will hold it all, & set it on a high chaffindish of charkcoal, & stir if continually about that it may neither burn nor boyl ye whole time ‘tis on ye fire, which must be about seven hours…[Then let it get] quite cold; then you may take it out & wrap it in flanell & afterward in paper & it will keep many years.”
Ingredients:
- 15 lbs (7 kg) beef shank with the bone*
*See notes below.
Instructions:
- Put the meat in the largest pot that you have. I based this amount of beef shank on what would fit in the largest pot I own, and it filled it about 2/3 of the way. If you have a larger or smaller pot than I did, you can use more or less beef shank accordingly. The stock pot that I have has a strainer that nests inside it, like you might use for pasta. If you have one of these, it’ll be helpful to use it. If not, it’ll still work.
- Cover the meat with water and set it over high heat. As it heats, a foam or scum will rise to the top. Skim as much of this off as you can. You’ll probably have to do this a few times, as each time you skim it off, more will rise.
- Once the pot is boiling, reduce the heat to medium so that it’s simmering. Cover the pot with the lid, leaving it ajar just a crack to let out a bit of steam, then let it simmer for 8 to 12 hours. Add more water if you must to keep the meat and bones submerged, but once they start to break down, it should be fine. You want to add as little water as possible, and adding none is best. Check on it and give it a stir every once in a while. It’s done when the meat has cooked so long that it’s barely meat anymore. Some historical descriptions include until “the Meat is good for nothing” (The Art of Cookery Made Plain and Easy by Hannah Glasse), until “the meat has lost its virtue” (The London Cook, or the Whole Art of Cookery by William Gelleroy), and to boil “the meat to rags till all the goodness be out” (The History of the Dividing Line by William Byrd II).
- When the meat has been cooked to rags, you need to separate the solids from the broth. This is where a pot with a strainer insert comes in really handy, but you can also pour everything through a large colander (saving the broth), or pick out the bits of bone and meat by hand.
- Let the strained broth cool completely, then stick it in the fridge to chill until the fat forms a solid mass on top. Remove the fat, making sure to get all of it. Any fat left behind could turn rancid, ruining the shelf life of the pocket soup.
- Strain the broth through some cheesecloth to catch every bit of meat and solidified fat.
- The goal of this next step is to steam away all of the water in the broth until you’re left with a gelatinous mass. Don’t let the broth get so hot that it boils or burns; you want it just hot enough to steam. The easiest way to do this is to put it in a slow cooker on its lowest setting and let it cook without the lid on, stirring every once in a while. Mine took 14 hours to go from broth to a jelly-like collagen-filled mass. Let this cool. It should form a rubbery mass that you can pick up.
- Cut the mass into pieces. Mine were about 1 inch (2.5 cm) squares. Lay the pieces out onto a piece of cloth to dry with a fan blowing on them if possible. Turn the pieces over once a day so that they dry out evenly. Mine took 5 days to dry out. They should be quite hard, like if you left a caramel out to dry for a really long time.
- To use the pocket soup, you can use it as a base for a sauce or stew, but more often it was drunk as a broth. To do this, boil some water and throw in some pocket soup cubes. The ratio of pocket soup to water differs depending on which recipe you’re looking at. Some say up to 1 ounce (30 g) per 1 cup (235 ml) of water, but the recipe we’re working from here says that a piece the size of a nutmeg will make 1 cup of broth, so at the end of the day, you can experiment with it and see what you prefer. The pocket soup should dissolve into the water with about 30 seconds of stirring, and then you can serve it forth.
Notes
I based this amount of beef shank on what would fit in the largest pot I own, and it filled it about 2/3 of the way. If you have a larger or smaller pot than I did, you can use more or less beef shank accordingly.