

World War II D Ration
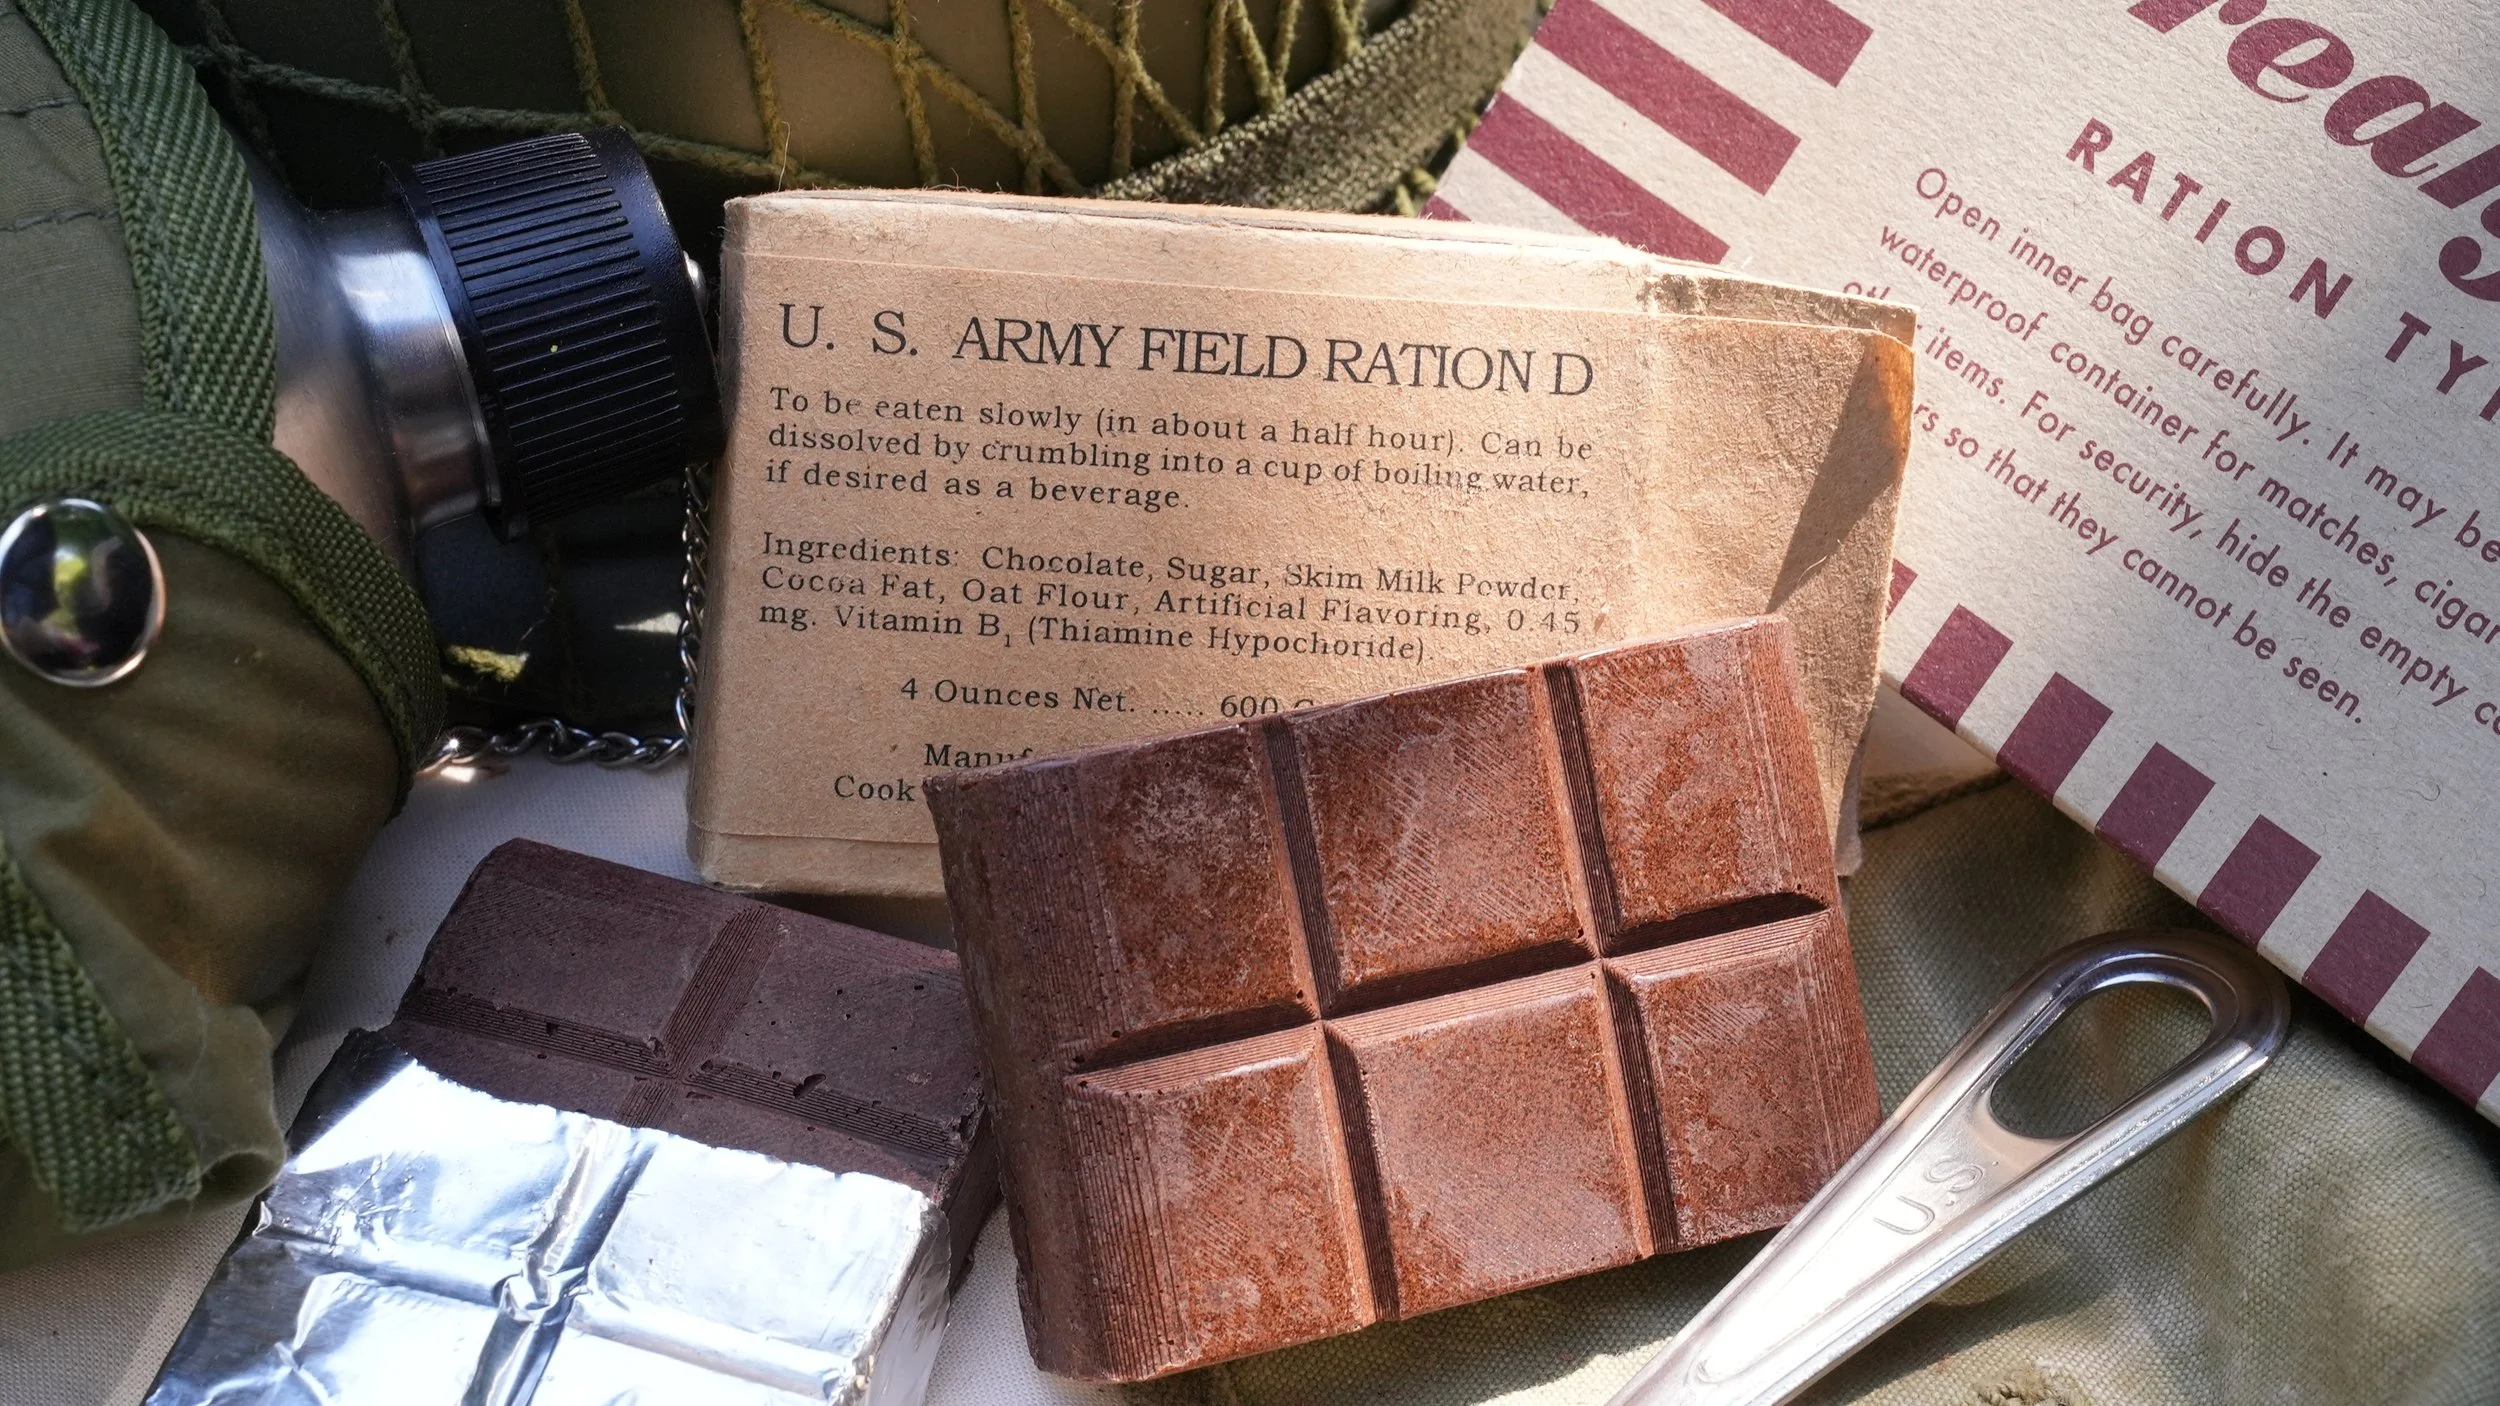
4 ounce bar of D Ration chocolate made with unsweetened chocolate, nonfat dry milk, and vanillin
City/Region: United States of America
Time Period: 1937
Formulated as emergency rations for World War II by Colonel (then Captain) Paul Logan working with Hershey’s legend Samuel F. Hinkle, the bars needed to be packed with calories, to not melt, and to be good enough to eat, but not good enough to eat outside of emergencies. And it was all of those things. Hated by some, enjoyed by others, how good the D Ration tasted seemed to depend largely on your circumstances. If you were starving, it would literally save your life and not taste half bad.
The texture is very grainy, and I usually like my chocolate to be a bit sweeter, but it’s not terrible. Chopped up and stirred into a mug of hot water, and it made for a pretty good hot chocolate. My chocolate bar was freshly made, which I’m sure makes a difference in the taste, but it was nowhere near as bad as I feared.
You’ll need at least one 4 ounce chocolate mold for this recipe, and mine had 6 sections in it like the original bar. The recipe makes four 4 ounce bars, so if you only have one mold, you’ll have to pack it into the mold four times. Since the measurements are precise for this recipe, I’ve just given the amounts of ingredients in grams.
“Shall be prepared from the following ingredients only, in proportion by weight as follows:
Chocolate, plain, adjusted to 54 percent cacao fat…160 parts
Sucrose…160 parts
Milk, dry, powdered, skimmed…70 parts
Added cacao fat…30 parts
Oat flour, raw…20 parts
Vanillin…1/2 part, or
Ethyl Vanillin…1/6 part
Thiamin Hydrochloride (Vitamin B1) See paragraph E-4.”
Ingredients:
- 160 g plain unsweetened 100% chocolate
- 30 g cocoa butter*
- 160 g sugar
- 70 g powdered nonfat milk
- 20 g oat flour
- 1/2 g vanillin, or 1 teaspoon vanilla extract*
- 1.8 g thiamin hydrochloride (Vitamin B1)*, optional
*See Notes below.
Instructions:
- Chop the chocolate into pieces. The smaller you chop it, the more quickly it will melt.
- Combine the chocolate and cocoa butter in the upper pot of a double boiler. If you don’t have a double boiler, you can use a heatproof bowl that you will set over a pan of simmering water. Make sure that the bottom of the bowl doesn’t touch the surface of the water. Set the upper pot of the double boiler or the heatproof bowl over some simmering water and stir as it melts.
- When the chocolate and cocoa butter have melted, stir in the sugar. The sugar probably won’t dissolve completely, but stir it around and get it to dissolve as much as possible.
- Stir in the powdered nonfat milk. The mixture will be grainy.
- Stir in the oat flour. The mixture will be grainy and quite thick.
- Stir in the vanillin and thiamine hydrochloride, if you're using it.
- Scoop the mixture into 4 ounce chocolate molds and smooth the tops. Let the chocolate completely cool and harden. Depending on the shape of your mold and the room temperature, it can take up to 8 hours, or about 1 hour in the fridge.
- Once the chocolate has fully hardened, unmold it and either eat it as-is, or chop it up and combine it with some hot water to make hot chocolate, and serve it forth.
Notes
Make sure the cocoa butter you’re buying is food grade. A lot of cocoa butter for sale is for skincare and cosmetics.
I’m not exactly sure of the vanillan-to-vanilla extract ratio here. If you give it a go with extract, let me know how it went in the comments.
The addition of the thiamin hydrochloride won’t affect the texture or flavor, so feel free to leave it out. It was added on to the formula later, anyway.